Markup - Erase Selected |
|
|
The Markup tab exposes the user to the tools needed to "markup" the map with customizable map objects.
When the user clicks on the Markup tab the following toolbar will appear. Use the Erase Selected button to erase selected/highlighted markup objects.
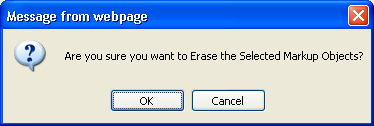
After the user selects the erase selected button the following alert box will appear:
Important Note:
The erase selected option will only erase objects of the same type. For example, if you select a markup point object only, it will erase that point object and not any circle objects. However, it will erase ALL point objects with the same key field. Therefore, it is very important that you give all of your markup objects different key values for the same markup object type before you add them to the map. The reason is that this application selects the feature by its key. Therefore, if you select a markup point feature that has the same key value as other markup point features, each of those points will be selected and subsequently erased.
|